How to Create an AI Video from a Photo: Step-by-Step Guide
Learn how to create an AI video from a photo, write a focused motion prompt, choose settings, reduce artifacts, and export a usable short clip.
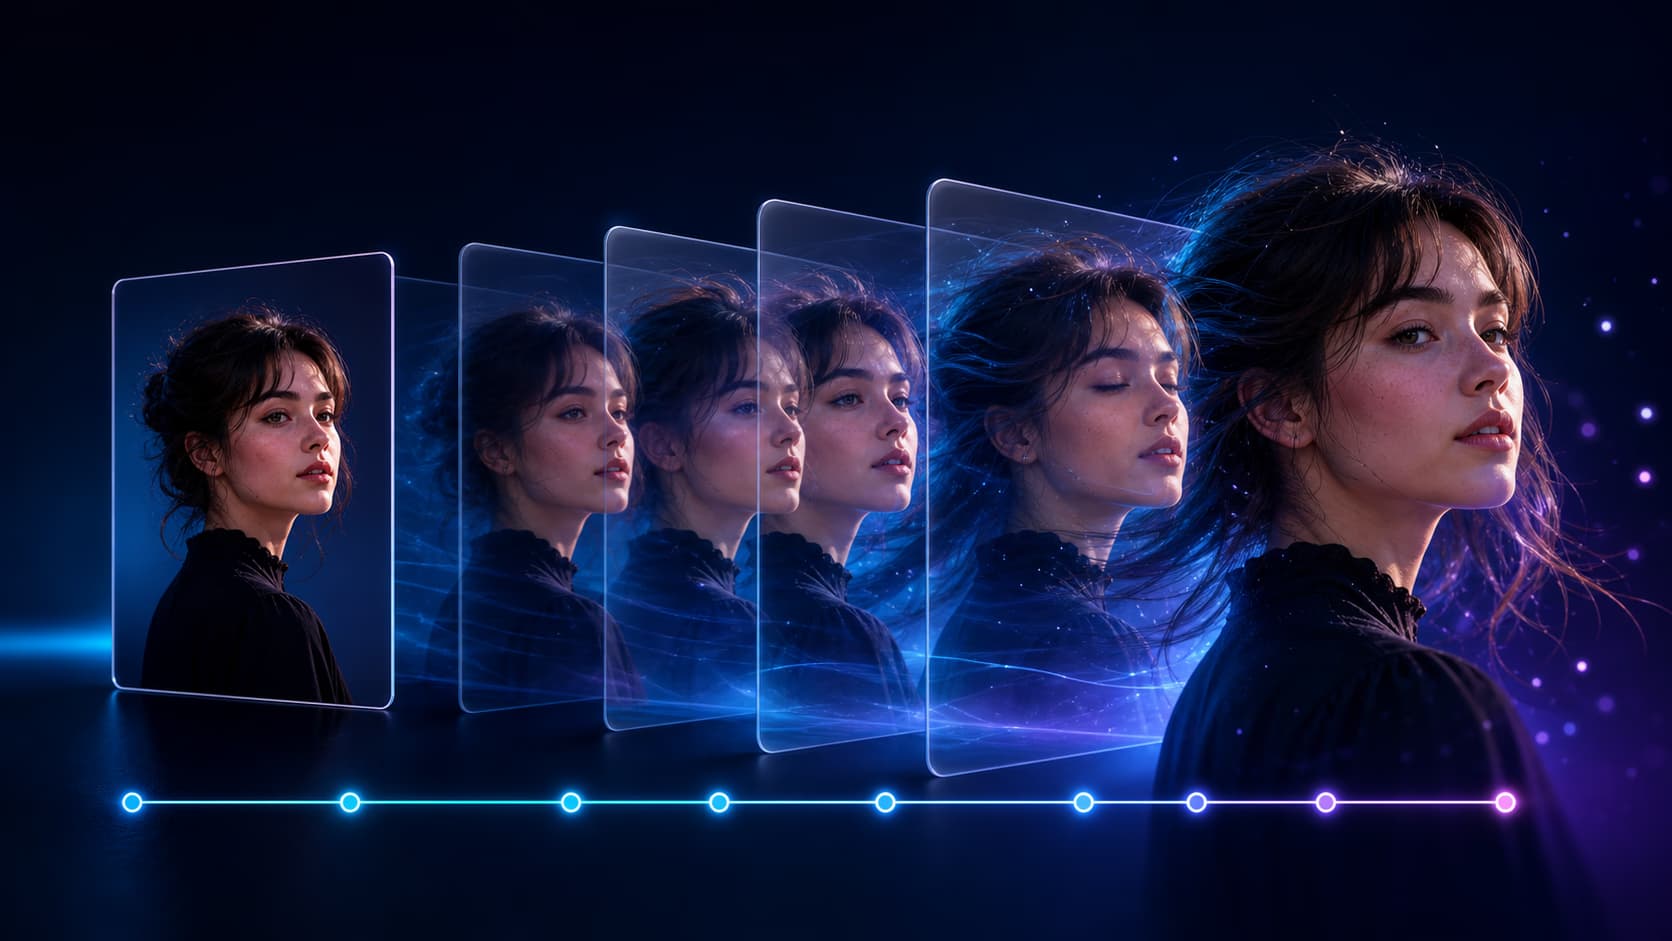
Creating an AI video from a photo is not the same as putting a slow zoom on a still image. A modern image-to-video model uses your photo as the visual starting point and generates new frames that can contain subject movement, camera movement, changing light, and environmental motion.
The basic workflow is simple:
- Upload one clear photo.
- Describe what should move—or leave the motion prompt blank.
- Choose the model-supported duration, resolution, and aspect ratio.
- Generate, inspect the result, and revise one variable at a time.
- Download the finished MP4 when the subject and motion look right.
You can follow this guide and then use the Photo to Video AI generator to try the workflow with your own image.
What you need before you start
You do not need video-editing experience, a camera, keyframes, or a timeline. You do need a suitable source image and a realistic idea of the motion you want.
Prepare these three things:
- A photo you have permission to use. This includes the necessary rights and consent for recognizable people, artwork, products, logos, or branded material.
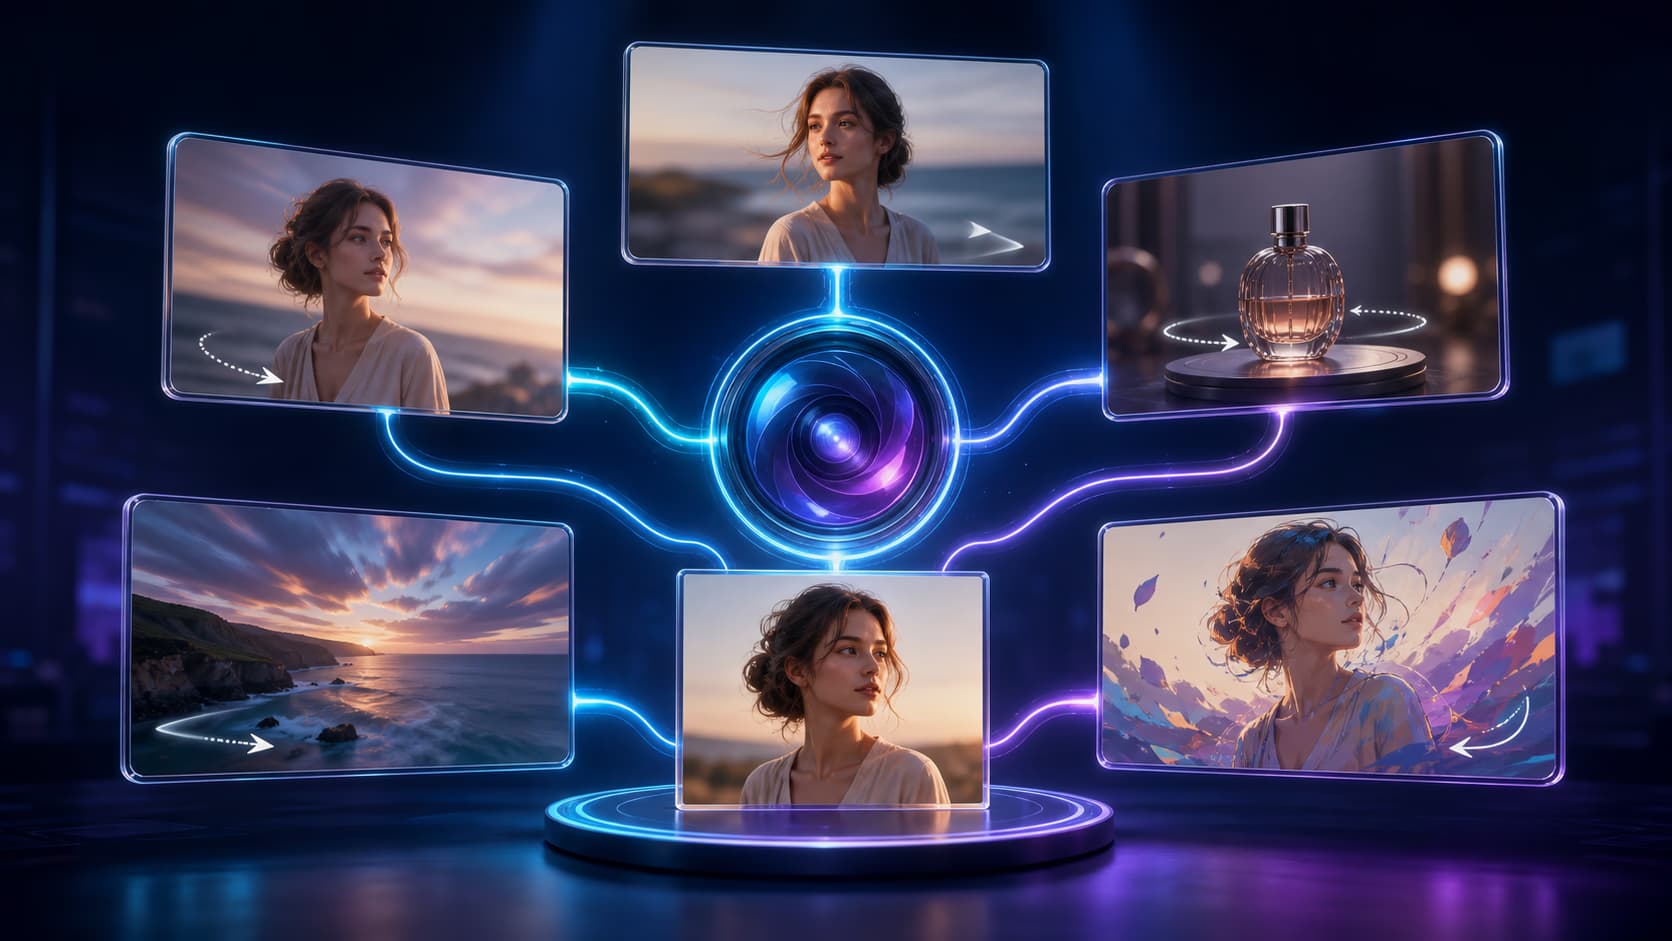
- One main motion idea. Examples include a gentle head turn, slow camera push-in, rotating product, moving water, or drifting clouds.
- A destination for the clip. Decide whether the video is for a vertical Reel, a widescreen page, a square post, or simply an experiment. That decision affects the aspect ratio you select.
Step 1: Choose a photo the model can understand
The uploaded image supplies the subject, composition, lighting, color, and much of the style. Problems already visible in the source can become more noticeable once the model generates motion.
Choose a photo with:
- a sharp, well-lit main subject;
- enough resolution to show important facial or product details;
- clear separation between the subject and background;
- visible space around anything expected to move;
- minimal compression, blur, or blocked features.
For a portrait, make sure the eyes, mouth, face outline, and hair are readable. For a product, check that the label, silhouette, and edges are not already distorted. For a landscape, choose a composition where the possible motion—water, foliage, fog, clouds, or camera travel—is easy to imagine.
Crowded group photos, tiny subjects, cropped hands, illegible labels, and heavily compressed screenshots give the model less reliable information. They may still work, but the output is less predictable.
Step 2: Write a motion prompt
In image-to-video generation, the photo already explains what the scene looks like. Your prompt should concentrate on what happens over time.
A useful starter formula is:
The camera [camera movement] as the subject [subject action]. [Environmental motion or mood].
For example:
Slow camera push-in as the subject makes a subtle head turn and blinks once. Soft breeze moves the hair naturally.
You do not have to use every part of the formula. A short instruction such as “gentle water ripples, slow camera drift to the right” may be enough.
Motion prompt examples
| Photo type | Focused prompt |
|---|---|
| Portrait | Subtle smile, gentle blink, slight head turn, soft window light, locked camera |
| Selfie | Natural breathing, small expression change, slow camera push-in, restrained motion |
| Product | Product rotates slowly on its base, controlled studio-light sweep, camera remains centered |
| Landscape | Clouds drift from left to right, grass moves in a light breeze, slow cinematic dolly forward |
| Water | Small natural ripples expand across the surface, warm reflections shift, static camera |
| Illustration | Character cloak moves in the wind, faint particles drift through the scene, slow parallax |
| Food | Gentle steam rises, highlights shift across the surface, slow macro camera push-in |
| Architecture | Slow upward camera tilt, changing afternoon light, subtle movement in surrounding trees |
What to avoid in the first prompt
Avoid asking for several unrelated actions at once. A prompt such as “turn around, run, jump, speak, change clothes, move the camera in a circle, and transform the background” gives the model too many opportunities to alter the subject.
Also avoid spending most of the prompt re-describing the image. If the photo already shows a red car at night, use the prompt to explain how the car, camera, reflections, or atmosphere should move.
The motion prompt is optional in the Photo to Video AI generator. Leaving it blank lets the selected model infer a plausible movement from the source photo. This is useful for a fast baseline, but a focused prompt gives you more direction.
Step 3: Choose the model and output settings
Different AI video models can produce noticeably different motion from the same photo. One may preserve a portrait more carefully, another may produce stronger camera motion, and another may offer a faster or lower-cost preview.
Review the settings available for the selected model:
- Duration: Short clips are easier to keep visually consistent. Start with the shortest practical option when testing a new photo.
- Resolution: Use a lower-cost preview setting for early prompt experiments when available, then move to a higher-resolution option after the motion is working.
- Aspect ratio: Use 9:16 for TikTok, Reels, and Shorts; 16:9 for YouTube, presentations, and many website placements; or 1:1 for square feeds and product-page modules when supported.
- Audio: Some models support generated sound while others produce silent clips. Do not assume audio is included unless the form shows that option.
- Credit cost: Check the displayed cost before submitting. Model, duration, resolution, and other settings can change the total.
If you are comparing models, keep the photo and prompt the same. Changing the model, prompt, duration, and aspect ratio simultaneously makes it difficult to understand why the output changed.
Step 4: Generate and inspect the result
Once the generation finishes, watch the complete clip more than once. Do not judge it only by the first frame or thumbnail.
Check the following:
- Does the person, product, or object remain recognizable?
- Do eyes, hands, teeth, labels, and logos remain stable enough for the intended use?
- Does the requested motion begin and end naturally?
- Does the background merge into the subject?
- Is the camera movement appropriate for the composition?
- Are there unexpected objects, text, or scene changes?
- Does the aspect ratio crop anything important?
Generative video is probabilistic. The same input can produce different results across attempts, and no model can guarantee perfect identity, readable text, or exact product geometry in every frame.
Step 5: Fix one problem at a time
When a result is unstable, simplify before adding more detail.
| Problem | First adjustment to try |
|---|---|
| Face changes too much | Request a smaller expression and gentler head movement |
| Hands or limbs distort | Reduce body movement or choose a crop where limbs are clearly visible |
| Product shape drifts | Use a cleaner source and request restrained camera or lighting motion |
| Background melts into subject | Reduce camera travel and start with stronger subject-background separation |
| Motion feels lifeless | Add one specific subject action or environmental movement |
| Motion feels chaotic | Remove simultaneous actions and specify a slower camera |
| Clip ignores the prompt | Shorten the prompt and lead with the most important motion |
| Vertical crop cuts off details | Use a source composed for 9:16 or select a wider supported ratio |
Make one change, regenerate, and compare. This approach is faster than rewriting the entire prompt after every attempt.
Step 6: Download and prepare the clip for publishing
Download the MP4 only after checking the details that matter for your use case. A fun personal animation may tolerate small changes that would be unacceptable in a product advertisement.
Before publishing:
- confirm that you have rights to the source image;
- verify the output visually instead of assuming every generated detail is correct;
- add captions, music, a voiceover, or branding in an editor if the generation tool does not provide them;
- keep a copy of the original photo and the prompt for future revisions;
- follow the disclosure and synthetic-media rules of the platform where you publish.
Paid Photo to Video AI plans provide watermark-free output and commercial-use rights under the applicable terms. You remain responsible for the material you upload and how the generated video is used.
AI video from a photo versus a photo slideshow
These two workflows solve different problems.
A photo slideshow maker sequences one or more still images and adds transitions, music, captions, pans, or zooms. It is the better choice when you want to tell a longer story from an album.
An AI image-to-video generator synthesizes new frames from one source image. It is the better choice when you want the portrait, product, artwork, or scene itself to appear to move.
You can also combine them: animate a few important photos with AI, then assemble those short clips with other still images, captions, and music in a conventional editor.
A practical first-generation checklist
Before clicking generate, confirm that:
- the source is sharp and legally usable;
- there is one obvious main subject;
- the prompt describes motion rather than repeating the picture;
- the first attempt contains only one or two movements;
- the aspect ratio matches the destination;
- you have reviewed the model settings and credit cost;
- you expect to inspect and possibly regenerate the output.
Create your first AI video from a photo
The fastest way to learn is to test one clear image with one restrained motion. Open the Photo to Video AI generator, upload a JPG, PNG, or WEBP image, and start with a prompt such as:
Slow camera push-in, subtle natural subject movement, soft environmental motion, preserve the original composition.
Create a free account and sign in to receive free credits. No credit card is required to get started.
Author